
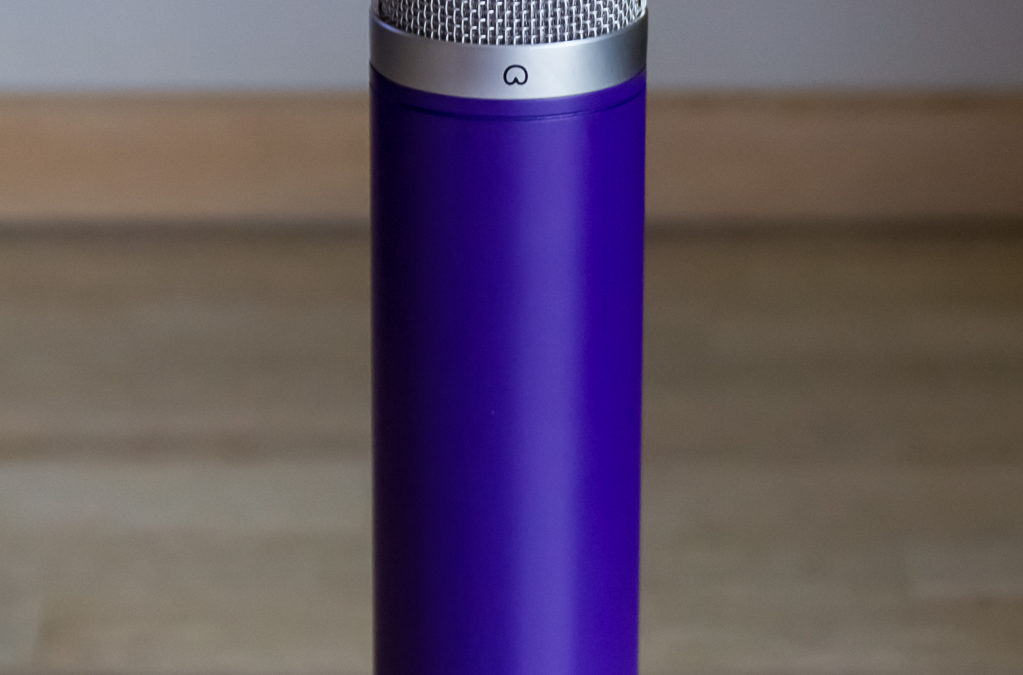
Modded Alctron HST-11a
This is now the 3rd microphone mod I have embarked upon. This time around, I am implementing one of the popular micrphone mods out there, popularly known as the Apex 460 mod. In my case, however, the donor microphone is an Alctron HST-11a, which is identical to the Apex 460 and many other brands that rebadge the same Chinese built microphone. The microphone in question is tube driven, the stock tube being a 12AX7, and is powered by an external PSU which also contains a nine-position polar response switch that can vary between figure 8, cardioid and omni polar responses.
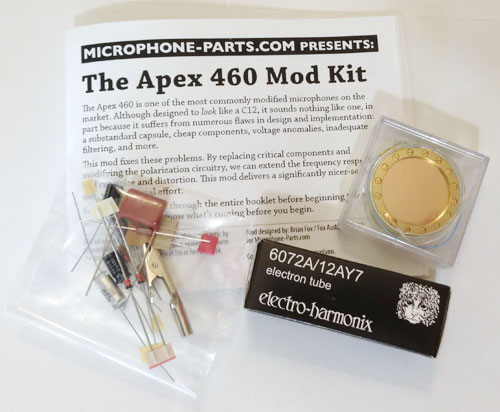
Microphone Parts Apex 460 Mod kit
The mod I implemented is commercially available in kit form from the Microphone Parts website – http://microphone-parts.com/mod-kits/apex-460-mods/ I have opted for the RK-12 capsule as the intention is to end up with a microphone with similar sound and characteristics to the AKG C12. This is the second kit I have purchased from Microphone Parts and cannot recommend them highly enough, both for the quality of the parts and the detail of excellent documentation.
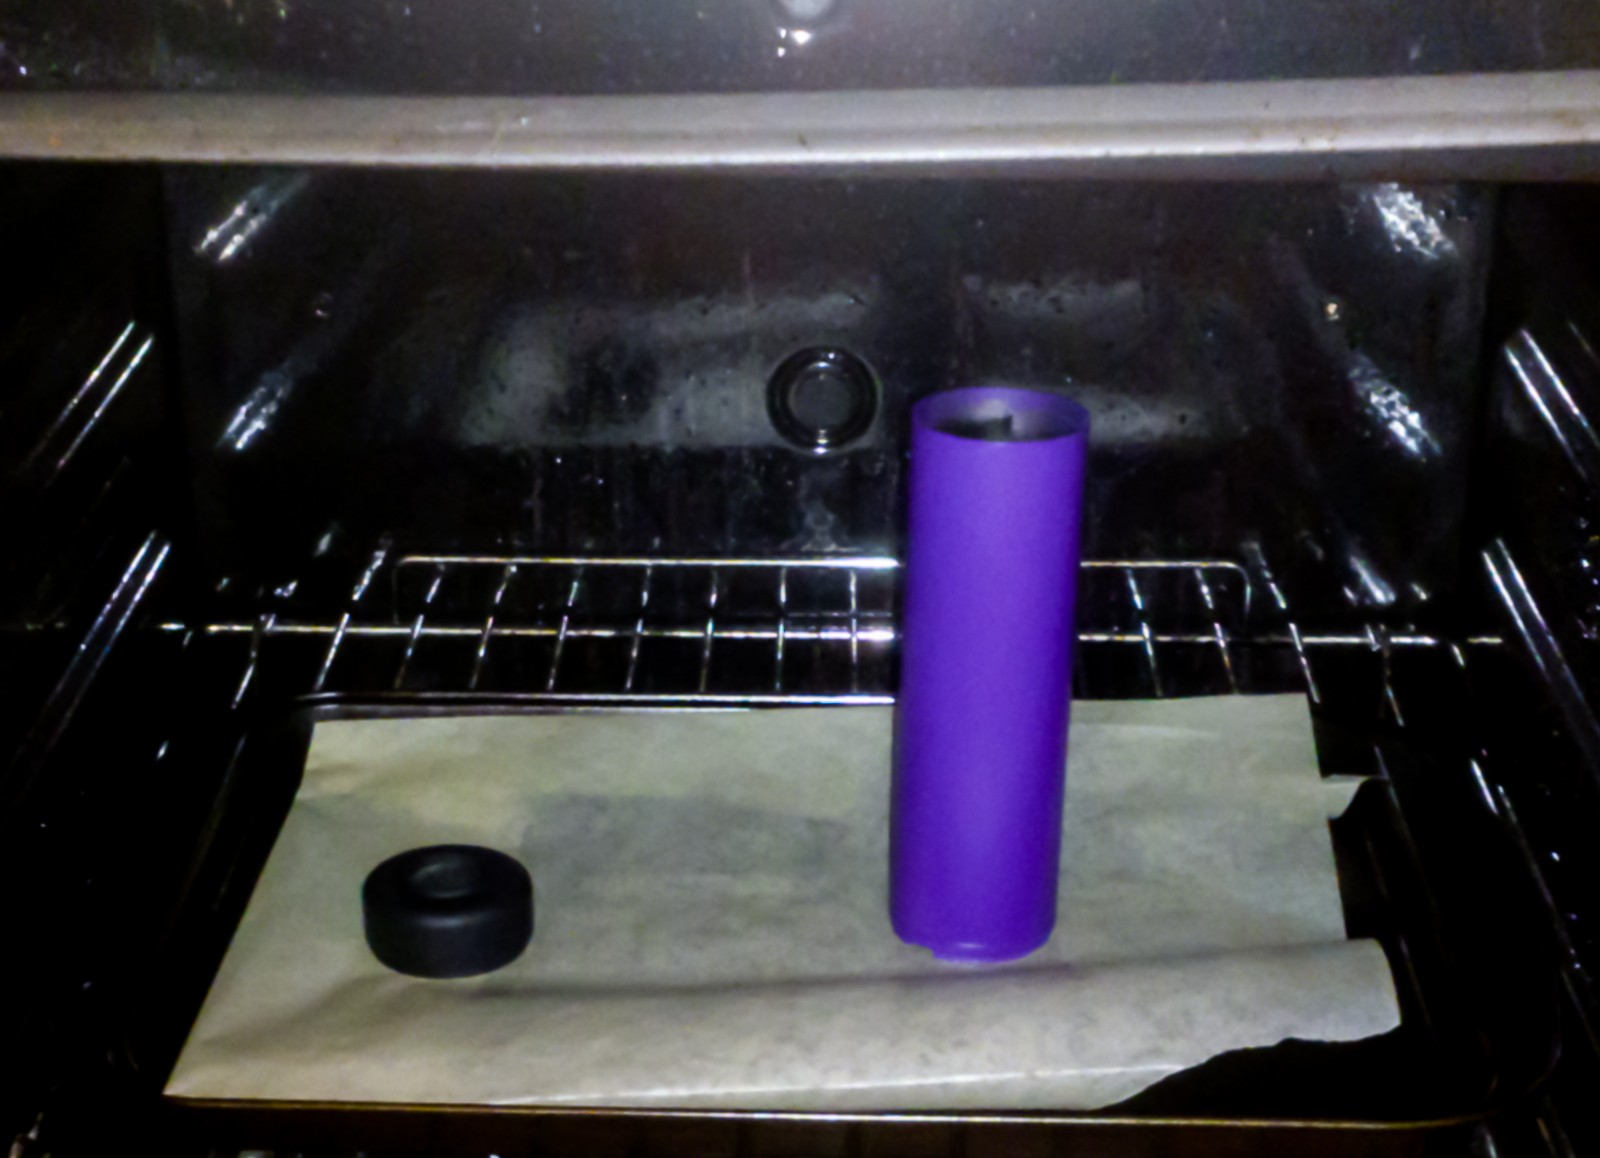
Baking the paint job
Before getting stuck into the actual mod, I removed the bottom nut and main body casing of the mic for a quick respray and set them in the oven to bake for 90 mins at 150° to cure the paint.
With that underway, the first job is to perform some component upgrades to the PSU.
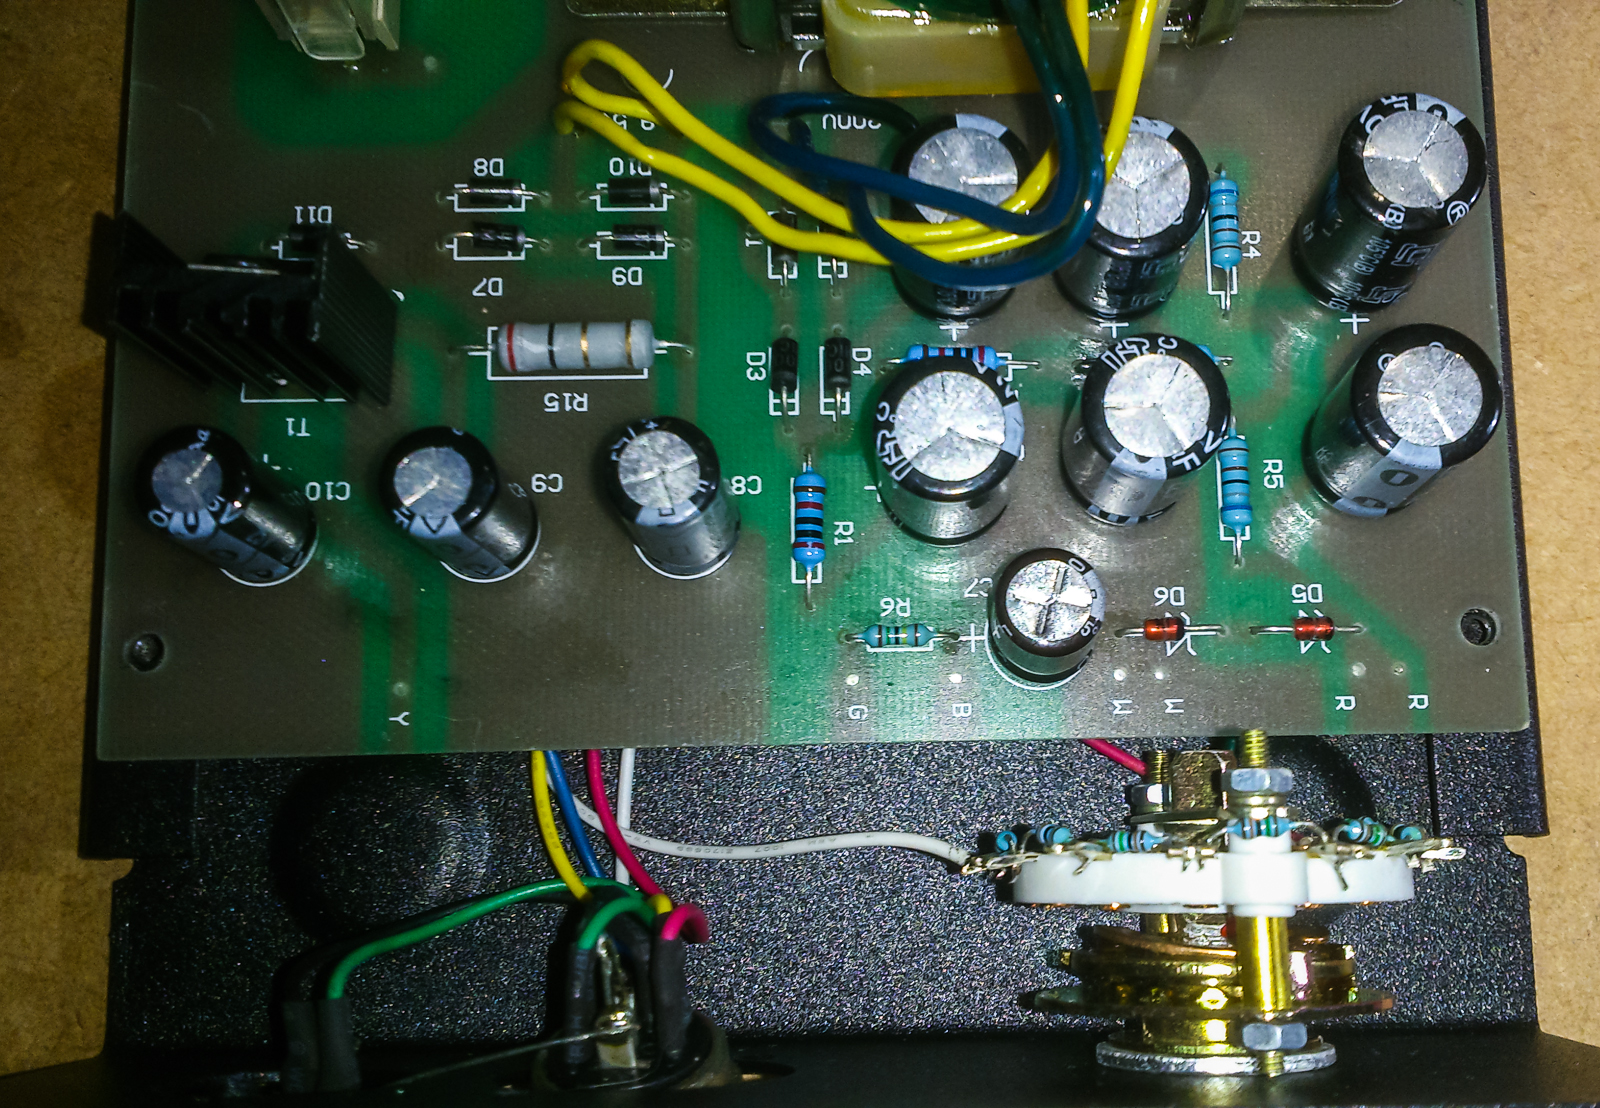
Accessing the PSU PCB
Accessing the main PSU PCB was straightforward and required only to remove the case, release the XLR sockets from the panel and unscrew the PCB retaining screws. At all stages I was careful to document the positioning of all components and wires in case any should get accidentally removed. That way you know exactly where it should be reattached!
With the component swap completed, the PSU needs to be reassembled and setup with then micropnone to ensure it still passes audio and so is working correctly. With this task completed and the test passed, it’s now time to turn my attention to the component & circuit changes to the microphone itself. The first job is to dismantle the microphone and document component and cable attachment positions. I found this easiest to do with a series of photos, a few of which I’m showing here.
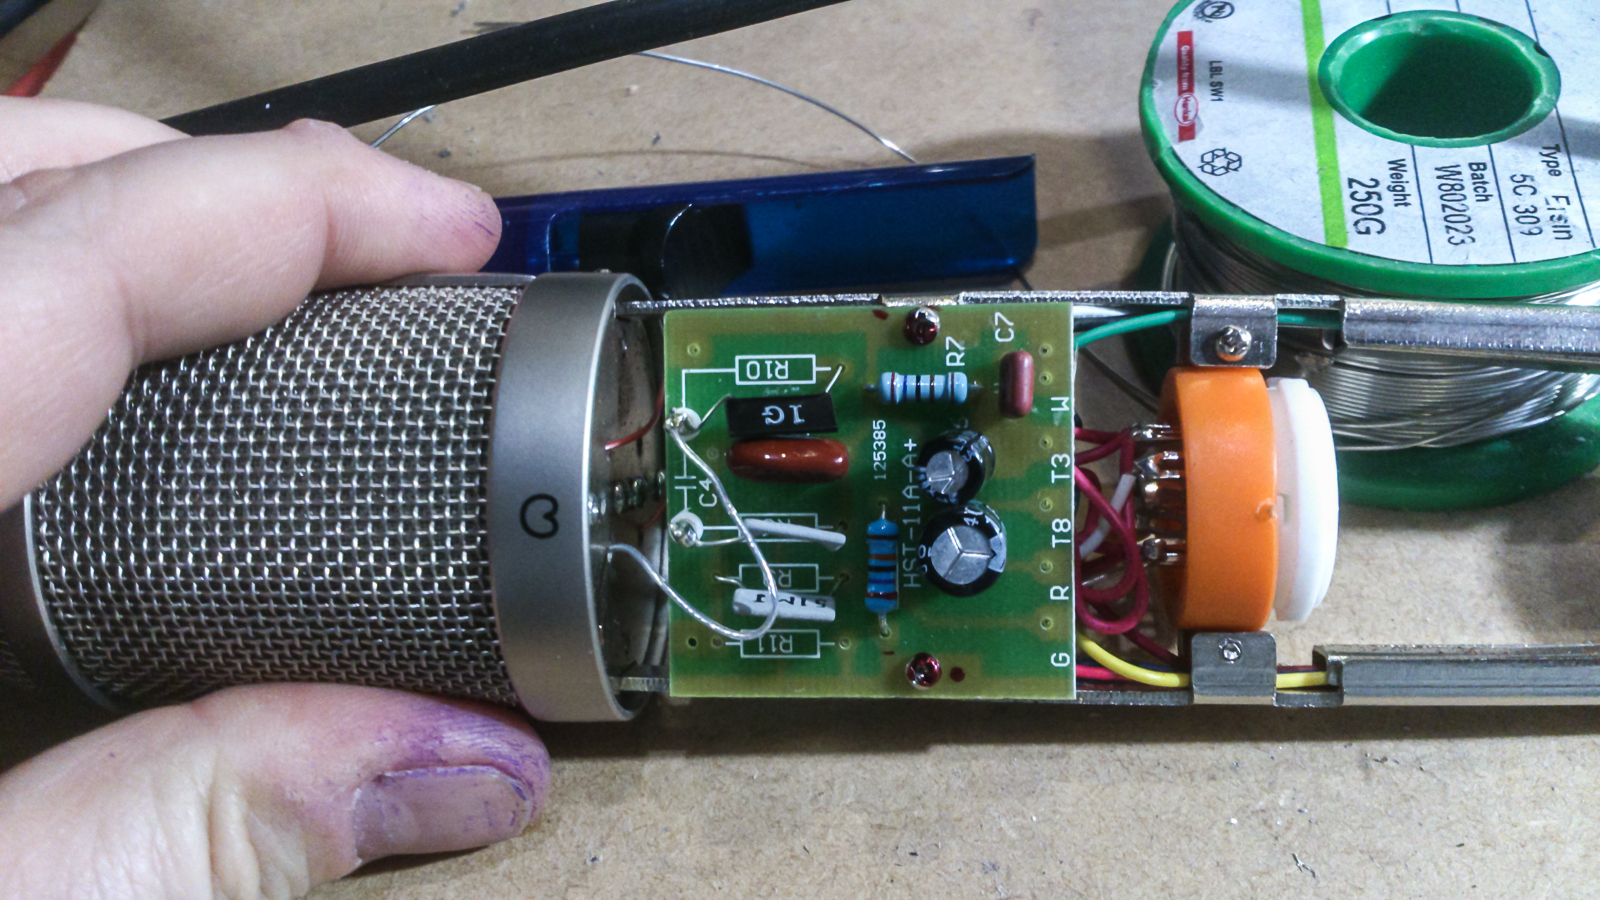
Alctron HST11a PCB A
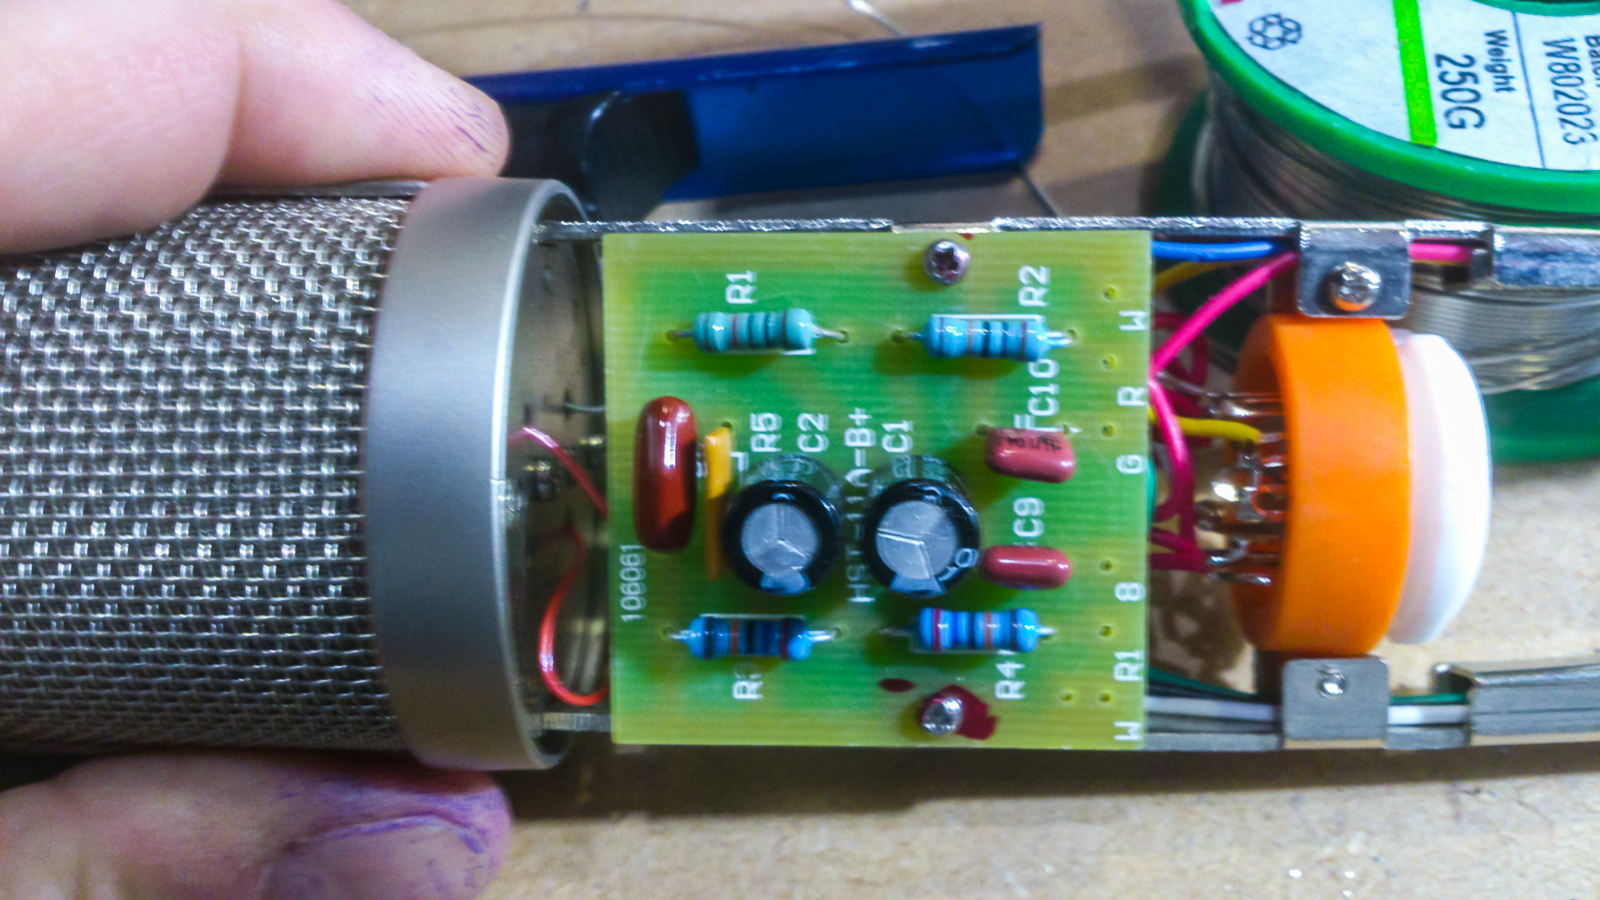
Alctron HST11a PCB B
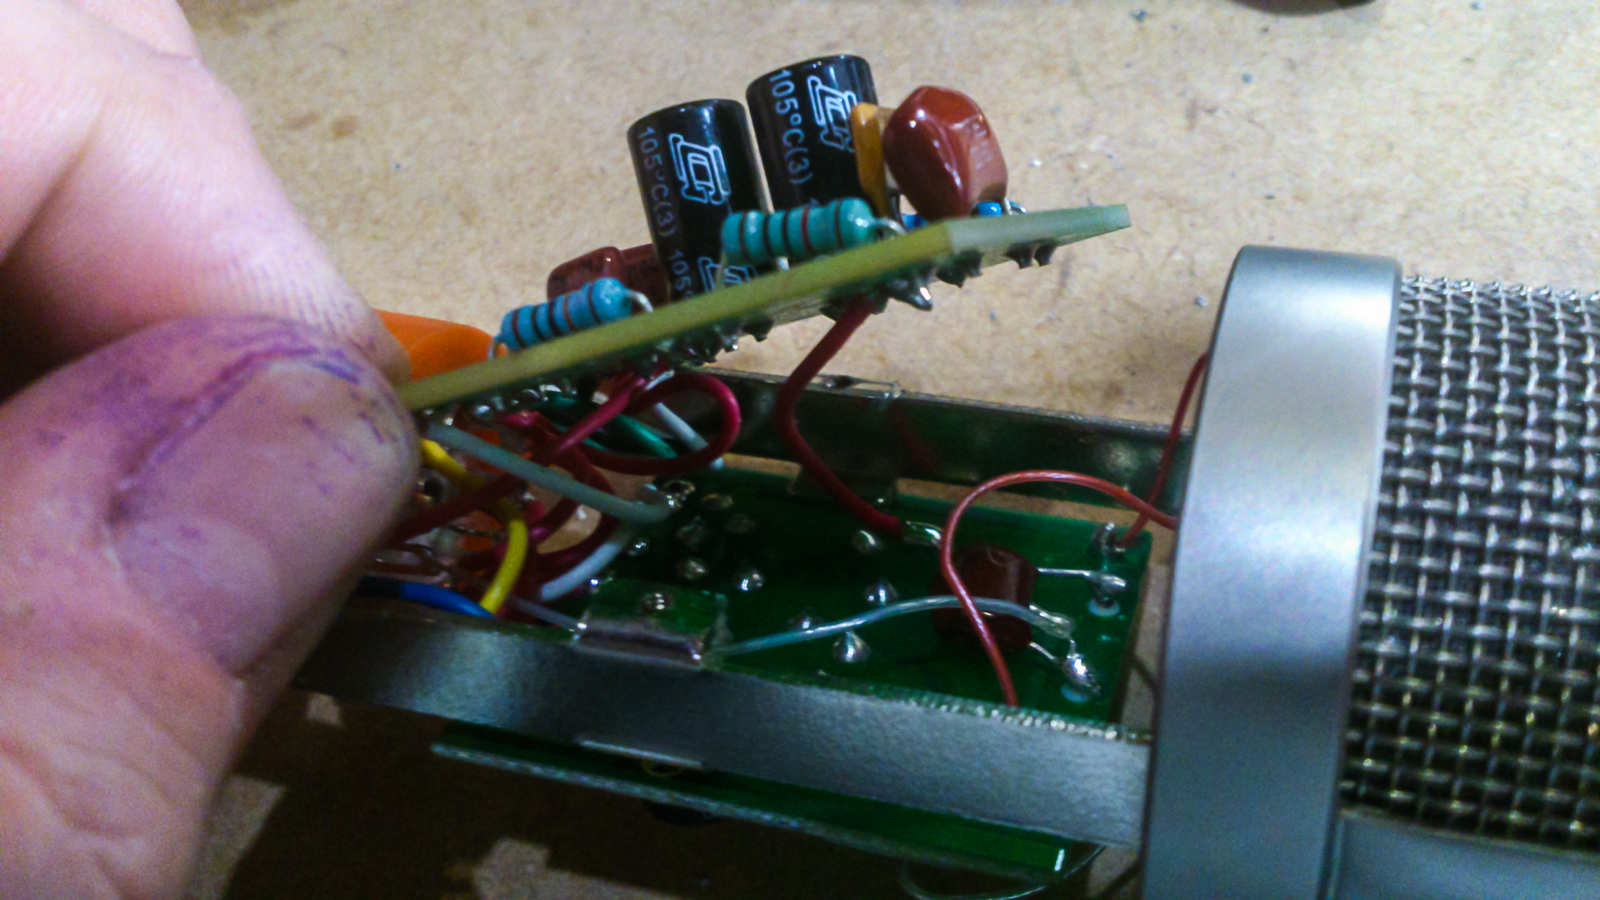
Alctron HST11a PCB wiring
After performing the component swaps (which I have deliberately not shown here!) the microphone must be assembled and tested using the stock tube and capsule to ensure it still passes audio and to verify that the component upgrades have been implemented successfully.

Microphone Parts RK-12 capsule
With this completed, all that’s left is to swap the capsule & tube. The capsule swap is a little nerve wracking as the new capsule is the most expensive and fragile part used in the upgrade. The new capsule must be mounted on the capsule deck which has to be removed from the microphone body frame.

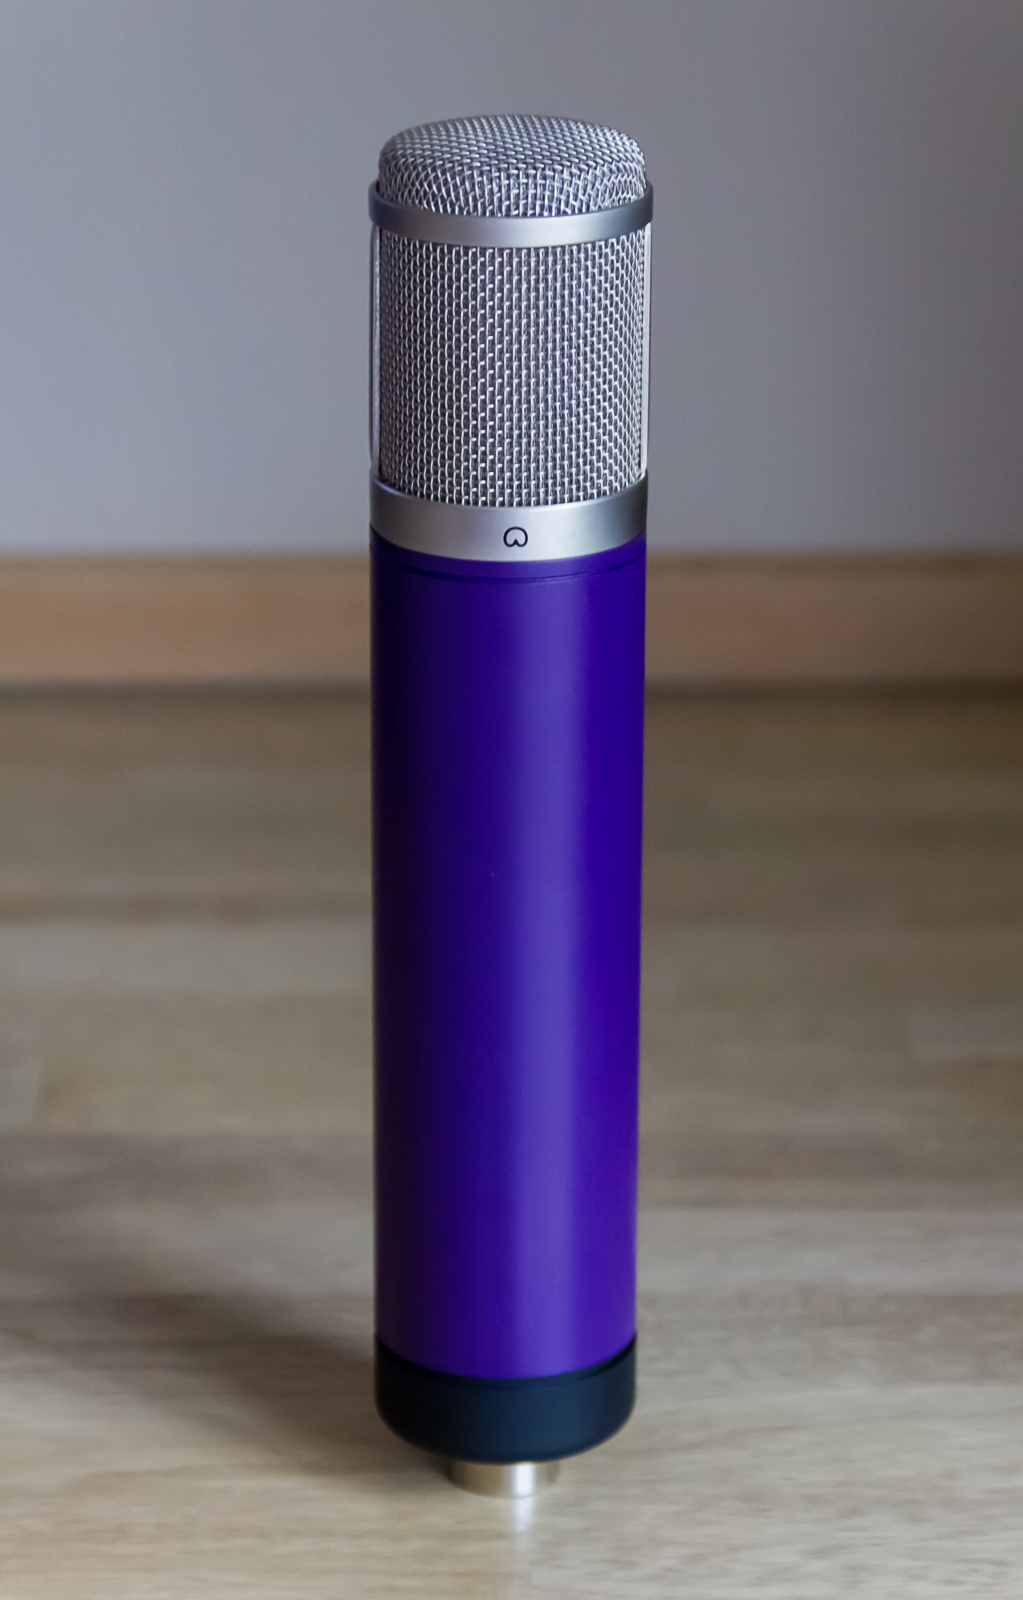
Reassembled microphone
Once mounted, the capsule leads need to be threaded through the holes in the deck which itself is then reattached to the microphone body frame and the head basket reattached – which is the point at which you can breathe a sigh of relief ads the capsule is no longer exposed and once again protected form accidental damage! That just leaves the tube swap, which is replaced with a brand new hand-selected Electroharmonix 6072a.
With all modifications now complete the microphone body can be screwed back on and final audio test comparisons recorded. So here are the all-important before and after test recordings, “before” recordings first:
Stock HST-11a (dry)
Modded HST-11a (dry)
…and these are the same “before and after” recordings, but run through a typical LA2A (UAD plugin) setting I would use on a vocal track:
Stock HST-11a (LA2A)
Modded HST-11a (LA2A)
I am very happy with the sound of the modded mic. I can hear a much more poised and balanced sound, most notably, the extended freq range on the bottom end and the smoother high-end. The mod has also greatly reduced the mic’s self-noise. Overall it feels warmer with much improved capturing of the fine detail.
Dave
You are a real wizard…
Thanks for sharing your experiences with us. I recently bought an Alctron HST-11a specifically for doing the Microphone Parts mod on.
Just out of curiosity, what type of paint did you use on the mic body, and did you have to do any special preparation or treatment to the metal to get your results?
Don, it is Plasti-Kote Super Satin (as I didn’t want a glossy finish) sprayed in several light coats over several light coats of black primer. The original logo & lettering was lightly sanded off using very fine sandpaper and then the body was simply cleaned with water & detergent before painting.
The flat paint surface result has come mostly from careful spraying of several light coats and then baking in the oven once touch-dry to completely cure the paint.
Great website. Just found the microphone mods website and tracked through to find you. Was hoping to find UK supplier for all the parts (capsules / kits etc) but couldn’t find one.
Enjoying your blog! Thanks. John
Thanks John, glad you are enjoying my blog. Not sure if you’ve looked more recently, but http://www.microphone-parts.com/ are now shipping all EU orders from a new UK based facility, so you can buy stuff in the safe knowledge there’ll be no import duties added. Though I have to say, I have never once had any issue buying parts from them even when they were shipping all orders from the US and never had more than small customs charge to pay.
Great job you done there .Im just about to modify my Alctron -hst-11a Got all the parts from microphoneparts.com should be here this week .In the description you said that you changed components in the power supply ?could you elaborate on this please.Was it just better caps that you changed i was going to do that using Panasonic Fm series much lower ESR .If you don’t mind me asking what else did you do to the power supply?This is my third microphone mod so I’m a seasoned modifier so to speak.Any advice tips would be nice .Great paint job on the microphone btw.Cheers John
There were just one or two components swapped on the PSU, supplied as part of the kit. With respect to Microphone Parts it would be wrong of me to specify what they are.
Hi
is it possible to apply this components to the Tbone SCT800?
thanks
Gigi, I don’t think you can easily use this mod-kit on an SCT800 as they don’t have quite the same circuit and employ the valves in different modes from each other.
You may find some useful info on these two forum posts, though:
http://advancedaudio-europe.com/forum/viewtopic.php?p=4134
https://groupdiy.com/index.php?topic=47314.0