
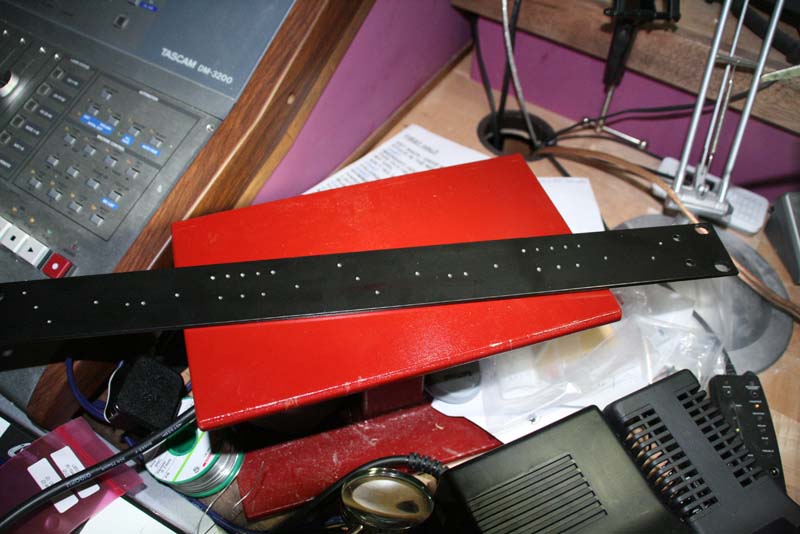
Having finished the PCB builds and then had a little break I have now made a start on the metalwork. Today I have drilled the front panel. First of all I sellotaped a full scale print out of the front panel design with cross hairs on each hole position and used a centre punch through the paper template to mark the drill hole positions. Luckily I have a pair of solid steel speaker stands (which my brother-in-law kindly built for me) which serves as a perfect ad-hoc bench-block.
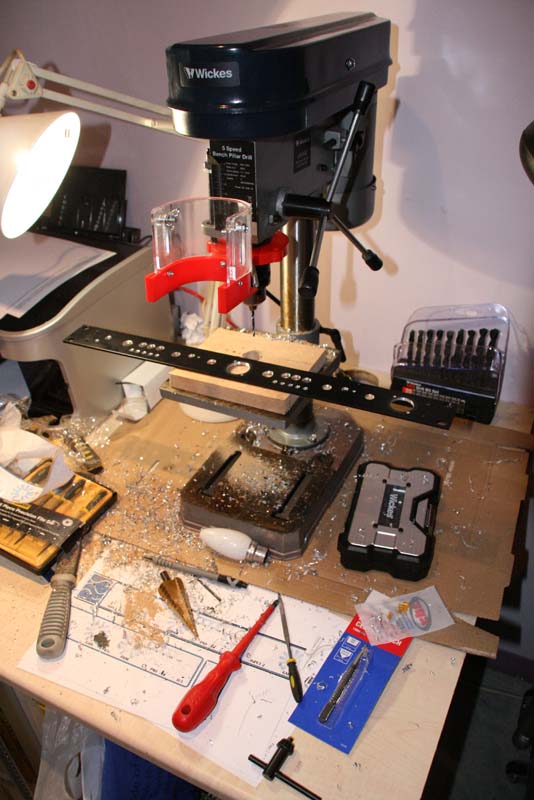
Having punched all the positions, I drilled out all the holes using my cheapo (Wickes) pillar dill set to its slowest speed – 600 RPM. I picked up a stepped cone drill bit off eBay to cut the XLR holes and was very surprised how easily and cleanly it cut these large 24mm holes.
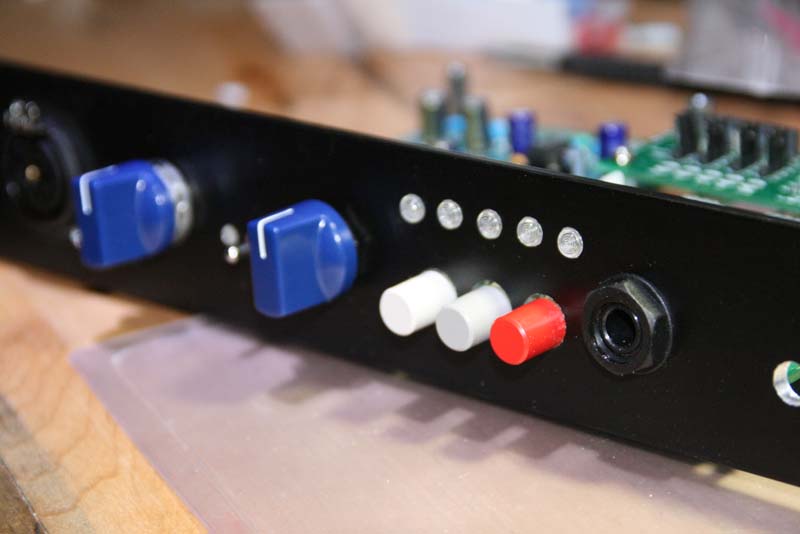
All holes were de-burred and I ended up having the file the phantom power switch holes a little as they weren’t in precisely the right place (they were offset to the left by about 1mm).
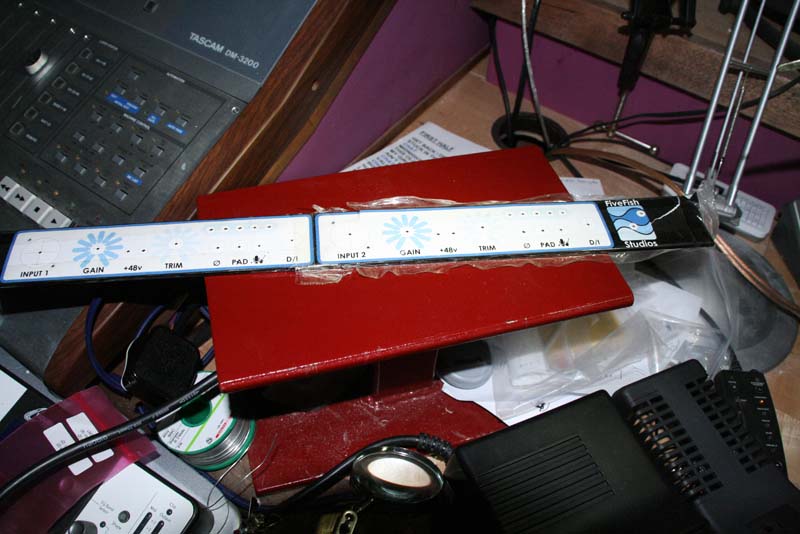
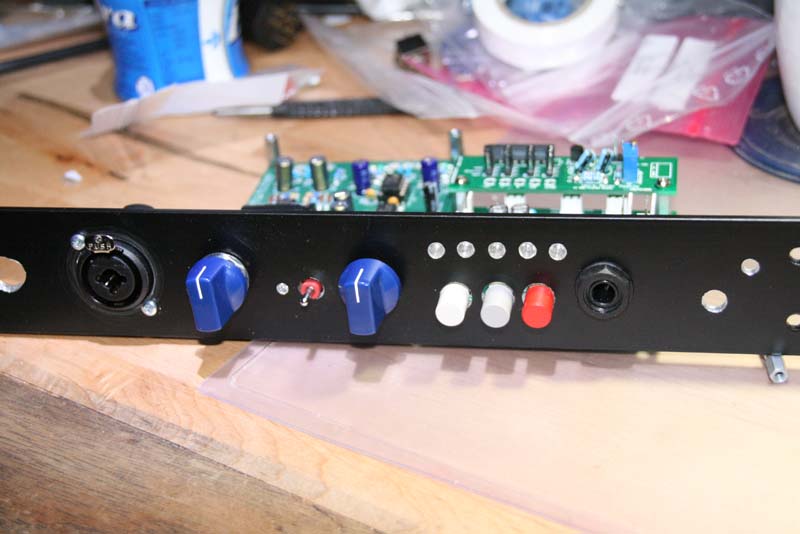
I have also done a quick test fit of the preamp and DI boards as well as a set of 5 LED lens clips (for the VU meter) to check everything fits. So far, except for a slightly wavy line of LEDs on the right hand channel, the fits looks very good.
Below are the all important pictures.

Recent Comments