

Disassembled MXL990
This is the follow-on article from the previous blog post on the MXL990 modification. The job starts with dismantling the mic by unscrewing the retaining nut on the bottom of the mic body and then unscrewing the main lower body cover. Then unscrewing the 2 bolts that connect the headbasket to the mic “skeleton”. Once the inner framework is removed form the headbasket, it is taken apart to allow full access to the PCB and to disconnect the stock capsule. The next job is to make the circuit modifications and replace certain components using those supplied with the kit. I’m not going to reveal what they are as the design of the mod most likely represents a fair proportion of the costs the sale of these kits has to recoup before any profit is made.

RK-47 capsule mounted
The next stage is to swap the capsule saddle to prepare the body for mounting the new capsule, an RK-47 in my case. Only one diaphragm of the capsule is connected for a cardioid response. As per the instructions, I covered the bare end of the lead wire from the other diaphragm with tape, wrapped it around the mounting post and then taped it down to the main mounting plate.

Finished modification
The job of disassembly, performing the modification and reassembly took just over an hour in all. I haven’t yet decided whether or not to perform the basket grille modification, I shall try out the mic without that mod first. I am also yet to peform the body-resonance mod which I shall leave uintil I am ready to disassemble again to paint the body. Even having only done the quick spoken word recording test, I am very happy with the new revoiced sound. This is not just by way of self-justification, but to my ears, it definitely sounds like a more refined and… well… more expensive microphone. I’m very happy with this mod and I’m very happy to recommend it to anyone with an MXL990 they want to improve. In fact, I’d say it’s worth buying an MXL990 with the express intention of getting this kit to modify it straight away.

Painted modified MXL990
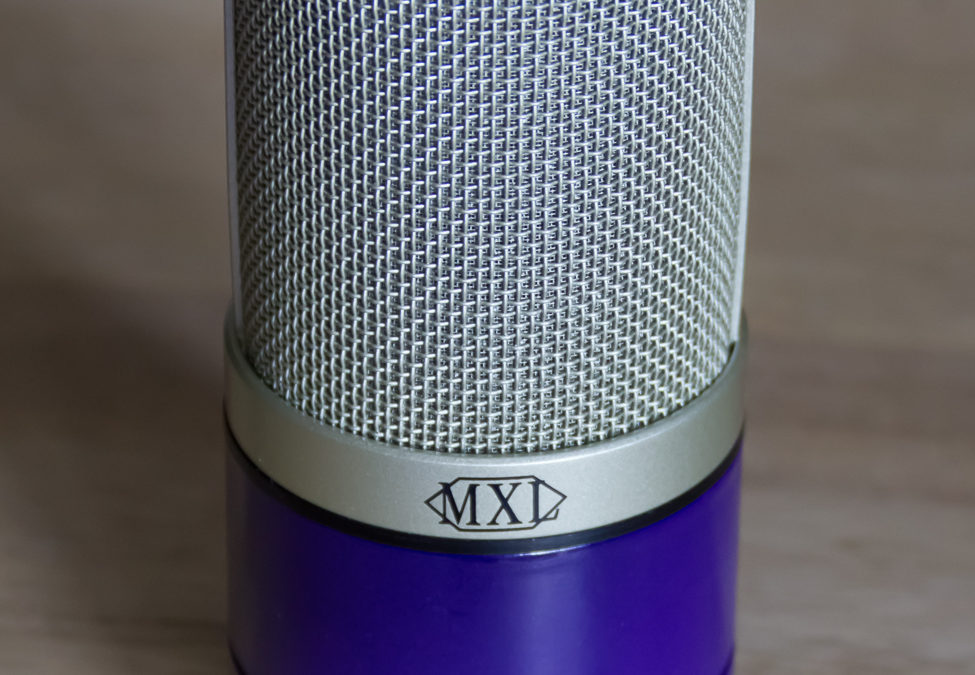
I have also now done a paint job on the lower body of the mic (pictured left). The plan is to introduce this colouring to all the mics I modify or build to identify them as belonging to my studio. I shall also be working on a logo once the MXL logo has been removed and will first try applying it using water transfer decal paper. Since this mod employs the RK-47 capsule and is going to be used in my studio (The Dining Room Studio) it will most lkely be givn the model number DRS-47.
Now that the mod is complete, I have repeated the test recording with all input settings set as closely to those for the previous recording as possible. Here are the stock MXL990 recordings again:
Stock MXL990 dry
Stock MXL990 LA2A
…and these are the post modification recordings:
Modded MXL990 dry
Modded MXL990 LA2A

Modded MXL990 wave display
To the right is a new screen shot of the DAW waveform display showing the original recording first and the new recording second. This is not very scientific as I reset the input gains & settings by hand to match photos of those used on the first recording, so make of the differences what you will.
Great information on the mod. This has really piqued my interest, and thoughts of digging my 990 out of the closet to work it over. Thanks for posting.
Nice job, thanks for posting. I have a few questions since you’ve had the mic for a few months now.
Did you end up making any of the other modifications: body resonance, basket, logo, etc?
What kind of paint did you use?
Thanks again
Hi Graham, I haven’t yet done any further mods, but I do intend to at least do the body resonance mod. The paint I used was Plasti-Kote Super Satin (as I didn’t want a glossy finish) sprayed in several light coats over several light coats of black primer. Once it was touch dry I then baked the parts in my oven on it’s lowest setting for around about an hour.
Can you compare or give me an idea how good it sounded? Have you A/B’d it against other mics ?
Thanx
Andy Niel